There's a fundamental difference between a store-bought carton of "beef stock" and a rich, amber, gelatinous broth you make yourself. The moment you experience the profound depth of flavor, the comforting aroma, and the undeniable nutritional benefits of homemade beef broth, you'll understand why this culinary staple has been revered across cultures for centuries. If you've ever wondered how to make beef broth stock that truly elevates your cooking and nourishes your body, you're in the right place. This comprehensive guide will walk you through every essential step, from selecting the best bones to the transformative 24-hour simmer, ensuring your culinary efforts yield liquid gold.
Making beef broth isn't complicated, but it does require patience and a few key techniques to unlock its full potential. The payoff is immense: a versatile ingredient that forms the backbone of countless dishes, from hearty stews and elegant sauces to simply sipping on a mug of warm, restorative goodness. Let's embark on the journey to creating the perfect beef broth.
The Foundation: Selecting the Best Bones for Your Broth
The quality of your beef broth begins with the bones. While you can make broth from virtually any beef bones, choosing the right combination will dramatically impact the flavor, body, and nutritional density of your final product. Don't settle for just any package labeled "soup bones" without a closer look.
Understanding Bone Types and Their Contributions
- Meaty Bones: These are crucial for developing deep, savory flavor. Look for bones that still have bits of meat, cartilage, and connective tissue attached. Think beef shanks, oxtail, or even leftover roasted beef bones (like those from a pot roast or prime rib). The meat adds a robust beefiness that simpler bones can't provide.
- Marrow Bones: Often sold as "soup bones," these are typically femur or leg bones cut crosswise, exposing the rich marrow within. Marrow contributes incredible richness, a silky mouthfeel, and a subtle sweetness to your broth. It's also packed with healthy fats.
- Gelatinous Bones: For a truly body-rich broth that sets like jelly when chilled, focus on bones high in collagen. This includes knuckles, joints, feet (trotters), and even parts of the skull. As these cook down over many hours, the collagen breaks down into gelatin, which is not only responsible for that desirable texture but also provides beneficial compounds like glucosamine and chondroitin, excellent for joint health.
A balanced mix of these three types of bones is ideal. If you can only find one kind, prioritize gelatinous bones for their health benefits and body, complemented by meaty bones for flavor. Don't hesitate to talk to your local butcher; they are often an excellent resource for sourcing specific cuts like beef feet or knuckles, which might not be on display.
Practical Tip: Before adding your bones to the roasting pan or pot, give them a quick rinse under cold water. This helps remove any loose bone fragments or impurities that could cloud your broth.
Igniting Flavor: The Essential Roasting Process
This step is non-negotiable for achieving a deep, complex, and beautifully colored beef broth. Roasting the bones is where magic happens, transforming bland raw bones into flavor powerhouses.
Mastering the Maillard Reaction
The key phenomenon at play here is the Maillard reaction. This chemical reaction occurs between amino acids and reducing sugars when food is subjected to high heat, creating hundreds of new flavor compounds and contributing to the browning and aroma we associate with perfectly cooked meat. For beef broth, this translates to an immensely richer, more savory, and less "raw" tasting stock.
- Preheat Your Oven: Set your oven to a robust 350-400°F (175-200°C).
- Arrange the Bones: Spread your meaty and marrow bones in a single layer in a sturdy roasting pan. Avoid overcrowding, as this can steam the bones instead of roasting them.
- Roast Until Deeply Browned: Roast for 45-60 minutes, or until the bones are deeply browned and caramelized. You want a rich, dark color, but avoid charring, which can lead to bitter notes. Flipping them halfway through can ensure even browning.
- Optional Aromatics: For an even deeper flavor profile, consider adding rough-chopped carrots, onions, and celery to the roasting pan with the bones for the last 20-30 minutes. These will soften and caramelize, contributing another layer of savory sweetness to your broth.
When to Skip Roasting: If you're using bones from a roast you've already cooked (like a standing rib roast or a pot roast), the Maillard reaction has already occurred. You can confidently skip this step and go straight to the stockpot.
The Long Simmer: Extracting Goodness for 24 Hours
With your beautifully roasted bones, it's time to bring everything together for the long, slow simmer that extracts all the deliciousness and nutrients. The 24-hour mark is ideal for beef, allowing ample time for collagen to break down and flavors to meld.
Setting Up Your Stock Pot
- Transfer Bones to Pot: Carefully transfer all roasted bones (and any unroasted gelatinous bones) from the roasting pan to your largest stockpot. If you roasted vegetables with the bones, add those too.
- Deglaze the Pan: Add a cup or two of water to the roasting pan, scrape up any browned bits (fond) from the bottom, and pour this flavorful liquid into the stockpot. This adds another layer of depth.
- Add Acid: Pour in 2 tablespoons of apple cider vinegar or lemon juice. This isn't for flavor (it won't make your broth taste sour); rather, it helps to gently draw out the beneficial minerals like calcium, magnesium, and phosphorus from the bones.
- Cover with Cold Water: Fill the pot with cold water, ensuring all bones are fully submerged by at least an inch or two. Starting with cold water allows for a slower extraction of impurities, leading to a clearer broth.
The Gentle Art of Skimming and Simmering
- Bring to a Boil, Then Reduce: Place the pot over high heat and bring it to a rolling boil. As it heats, you'll notice a foamy scum rising to the surface.
- Skim the Scum: Once boiling, immediately reduce the heat to the lowest setting to maintain a very gentle simmer – just a few lazy bubbles breaking the surface. Use a ladle or fine-mesh skimmer to carefully remove and discard the scum. This foam contains impurities that can make your broth cloudy and sometimes bitter. Continue skimming for the first hour or so, until most of the foam subsides.
- The 24-Hour Simmer: Cover the pot (leaving a slight gap for steam to escape) and let it gently simmer for a full 24 hours. The long cooking time is crucial for breaking down tough connective tissues into gelatin and fully extracting flavor and nutrients from large beef bones. Periodically check the water level and add more hot water if needed to keep the bones fully submerged. A 24-hour simmer is key to a truly rich and therapeutic broth, as detailed in our guide to Homemade Beef Broth: Easy Steps for Maximum Flavor & Nutrients.
Aromatic Additions: Vegetables and Seasonings
While the bones provide the primary flavor, aromatics and seasonings round out the profile of your beef broth. Timing is important to prevent them from breaking down too much or imparting bitter notes.
- When to Add: Add your aromatic vegetables (mirepoix: 2-3 carrots, 2-3 celery stalks, 1-2 onions, all roughly chopped) during the last 4-6 hours of simmering. This prevents them from becoming mushy and contributing an "overcooked" vegetable flavor.
- Herbs and Spices: A few bay leaves, a teaspoon of whole black peppercorns, and a sprig of fresh thyme or rosemary can add wonderful complexity. Add these with the vegetables.
- Strategic Salting: It's generally best to salt your broth minimally, or not at all, during the cooking process. Broth reduces over time, concentrating flavors and salt. Adding too much salt early on can result in an overly salty finished product. It's easier to adjust the salt content when you're using the broth in a specific recipe.
Finishing Touches and Storage
After a full 24 hours, your kitchen will smell incredible, and your beef broth will be ready for its final transformation.
Straining and Cooling
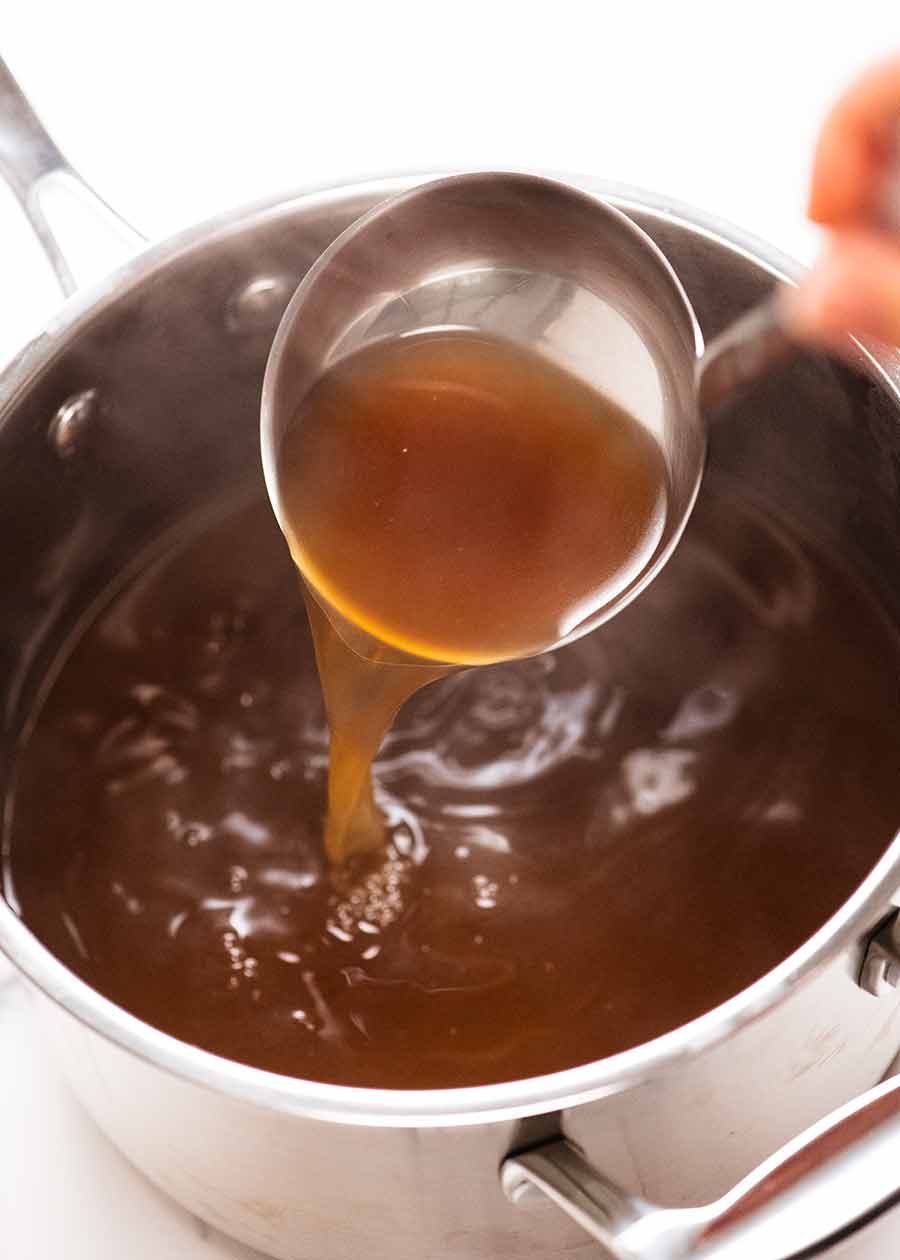
- Careful Straining: Remove the large bones and vegetables with tongs or a slotted spoon. Then, carefully pour the broth through a fine-mesh sieve or colander lined with cheesecloth into a large clean container. This removes any small bone fragments or sediment, leaving you with a clear broth.
- Cooling Rapidly: It's crucial to cool your broth quickly to prevent bacterial growth. You can do this by placing the pot in an ice bath in your sink, stirring occasionally, or by transferring it to several shallower containers before refrigerating.
- Defatting (Optional): Once the broth is completely chilled in the refrigerator, a layer of solidified fat will form on top. You can easily scrape this off and discard it, or leave it for extra flavor and richness. Many prefer to remove it for a lighter broth.
Storing Your Liquid Gold
Proper storage ensures you can enjoy your homemade beef broth for weeks or months to come.
- Refrigerator: Properly cooled broth can be stored in airtight containers in the refrigerator for up to 5-7 days.
- Freezer: For longer storage, freeze your broth in airtight containers, freezer bags, or even ice cube trays (for small portions). Frozen beef broth can last for 6-12 months.
Mastering how to make beef broth stock is a rewarding culinary skill that pays dividends in flavor, nutrition, and cost savings. Your homemade broth will be leaps and bounds beyond anything you can buy, offering a clean, rich taste that forms the perfect foundation for countless dishes. From soothing soups to savory gravies, this liquid gold will become an indispensable part of your kitchen. Embrace the journey of the 24-hour simmer, and you'll soon be enjoying the unparalleled quality of your own perfect beef broth. For more on its health benefits, explore our guide: Boost Health with Beef Broth: Collagen & Mineral-Rich Recipe.
